Android Application Development Lesson – 2 – Environmental Variables
In the previous post, you have seen how to install Eclipse IDE, ADT, and the Android SDK. Well, the process is not over yet! There is one more thing, the most important Environmental Variables setup.
In Windows 7 and above versions of Windows, Click Start and type in ‘Env’ and you will see ‘Edit environmental variables for your account’. Choose it, and now environmental variables pop up will show up.
If you are running older operating systems like Windows XP, you need to go to,
Start -> right click Computer -> Properties -> Advanced system settings
In the new pop up box, you will see a button Environmental variables at the bottom right position.
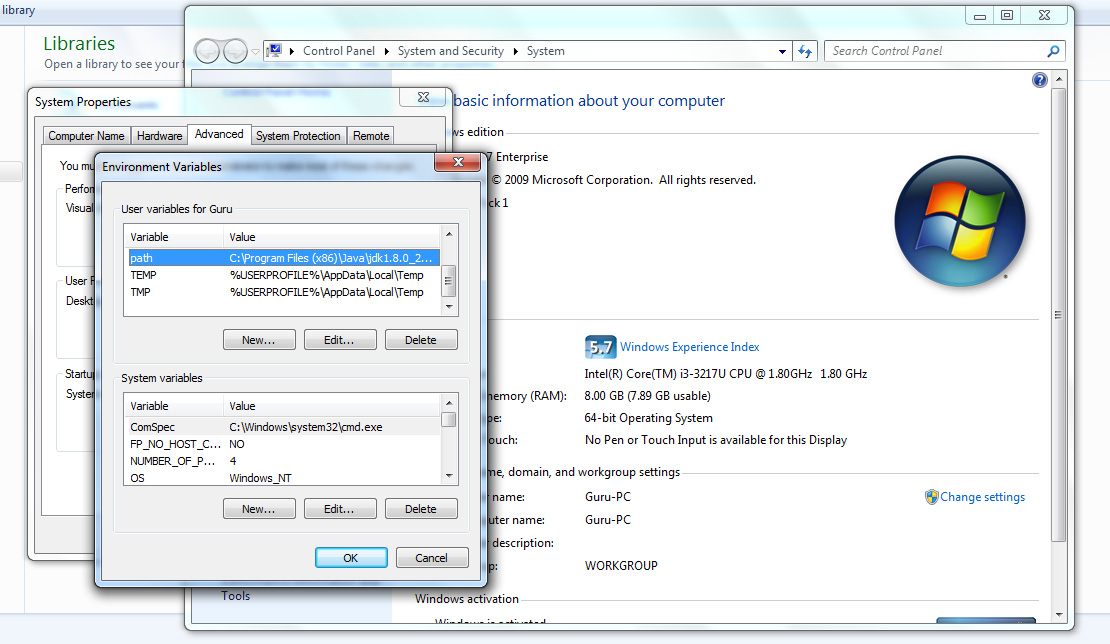
Under User variables section, click New. There in the Variable Name field, enter ‘path’ in small case without quotes, and in the Variable Value field, enter the java jdk installation directory path.
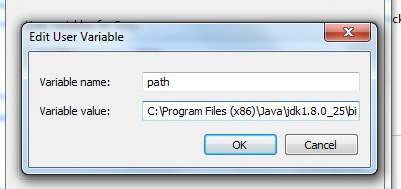
The JDK path in my pc looks like C:\Program Files (x86)\Java\jdk1.8.0_25\bin
Not just the JDK path is enough for Eclipse, you also need to set the paths of ‘SDK platform tools’ and ‘SDK tools’.
Put a semicolon at the end of the address and enter the other two required paths like this,
C:\Program Files (x86)\Java\jdk1.8.0_25\bin; C:\Program Files (x86)\adt-bundle-windows-x86-20140702\sdk\platform-tools; C:\Program Files (x86)\adt-bundle-windows-x86-20140702\sdk\tools
After entering these three paths, click Ok.
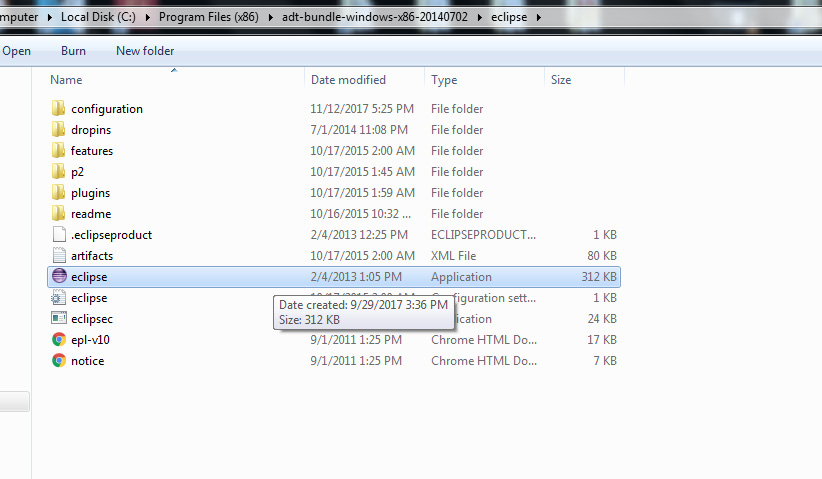
Now you can start Eclipse IDE from adt-bundle-windows\eclipse\eclipse.exe
Eclipse IDE takes few manual startup checks, like setting up the correct SDK path, and checking for latest ADT within the IDE.
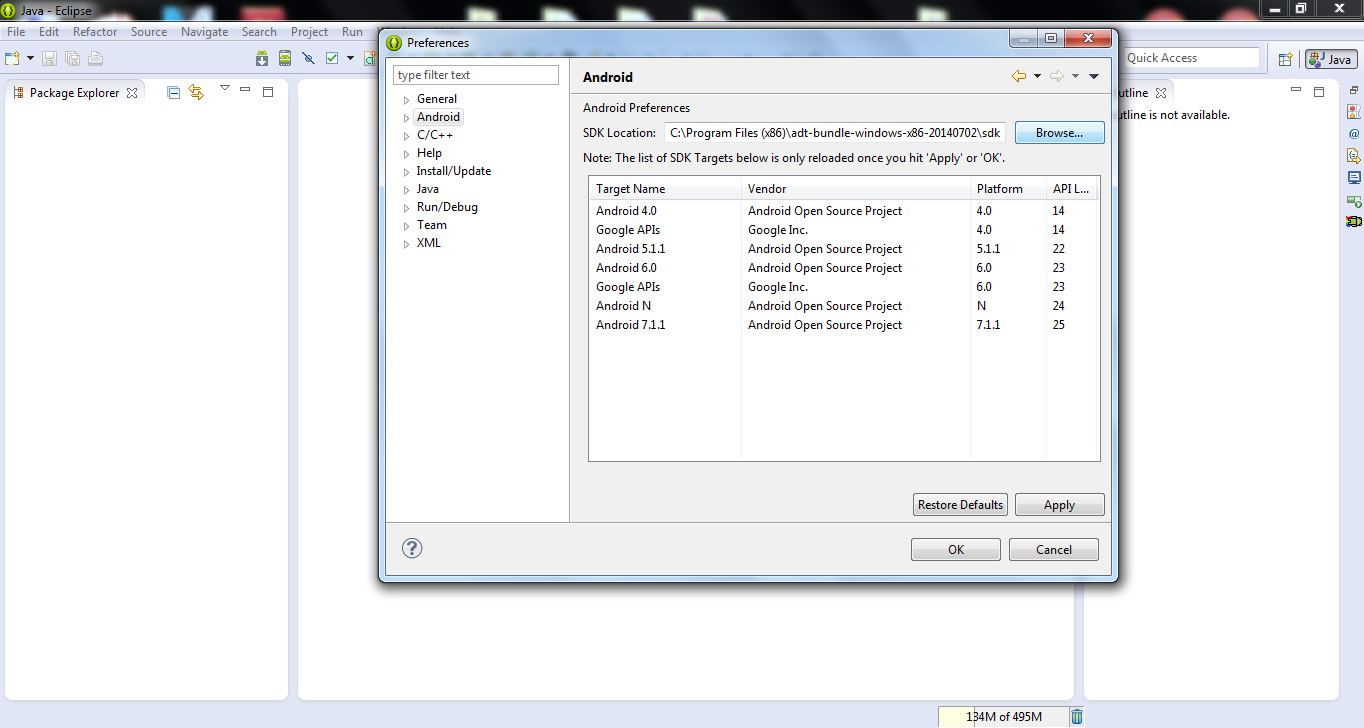
To check if SDK path is set in the IDE correctly,
Go to Window -> Preferences -> Android -> Now browse for the SDK location and choose the correct location.
Now it’s time to create a New Project!
File -> New -> Android Application Project
If something goes wrong or if you didn’t see a Project setup window pop up there, then there should be some issue with ADT setup.
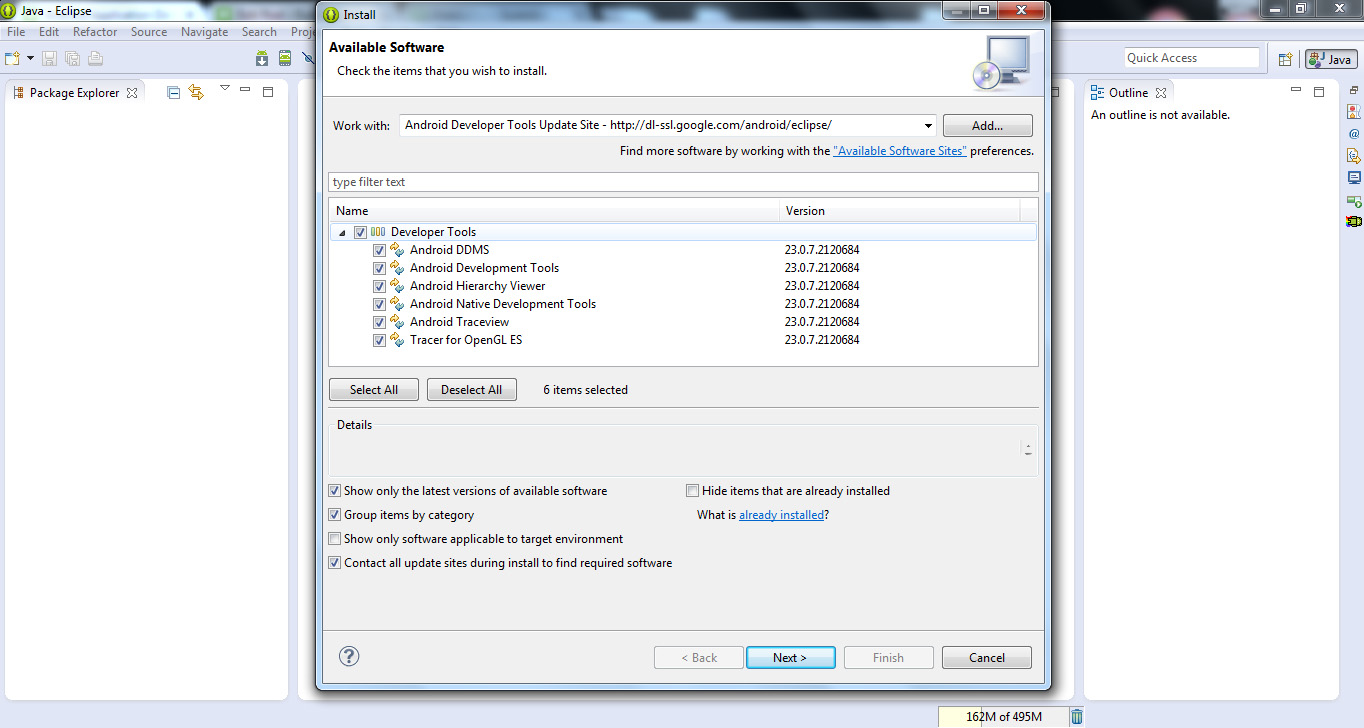
Click Help -> Install New Software
There choose Android Developer Tools update site URL
http://dl-ssl.google.com/android/eclipse/
Now mark the Developer Tools Option and click Next.
Wait a while for the installation to complete. Now you’re all set to go!!
Now it’s your time to create a Project!
Frequently Asked Question
Why do I need to setup environmental variables?
Windows system is based on .NET framework, and you would need to tell the Windows what kind of Program you are going to work with.
For example, executing a basic Java Program in a windows system can have the following steps
1. Open Notepad and enter the following java program
|
1 2 3 4 5 6 7 8 9 10 11 |
import java.io.*; class Simple{ public static void main(String args[]){ System.out.println("My First Example"); } } |
2. Save it as Simple.java ( since class name and file name must be same in java )
3. Open cmd and enter these commands line by line.
|
1 2 3 4 5 |
path = C:\Program Files (x86)\Java\jdk1.8.0_25\bin javac Simple.java java Simple |
Output: My First Example
So, you need to install Java at once and tell Windows system the path of the installed directory whenever you need to execute a Java-based program.
Let’s make things clear! After you set up Eclipse you need to tell the Windows system that Java is installed, and also tell the system your java install path, and that is why you set the Java path environmentally, since you are going to work with a Java-based project like Android.