In this post, we will see the ways of detecting memory leaks in Android and…
Solved – PTPlayer unsatisfiedLinkError in Android Studio with projects imported from Eclipse
If your project is using native libraries, you will be getting multiple build variants with .so extension during the ndk-build. In case you use Windows, you will be using ndk-build.cmd from the command line, from the root folder of your Android project.
The multiple build variants of .so files generated inside libs folder are to be copied to the Apk during the export. When it fails to copy these .so files, you won’t be able to run properly.
The build variants of .so files will be,
|
1 2 3 4 5 6 7 |
arm64-v8a armeabi armeabi-v7a mips mips64 x86 x86_64 |
Once the files are created, you need to move them all to a common library folder and tell the compiler to pick the required files from that library folder whenever needed.
The process is briefly described in the following steps.
STEP 1: Create Folder 'jniLibs' inside 'app/src/main/' directory
Open the ‘app/src/main’ directory and create a new folder and rename it ‘jniLibs’.
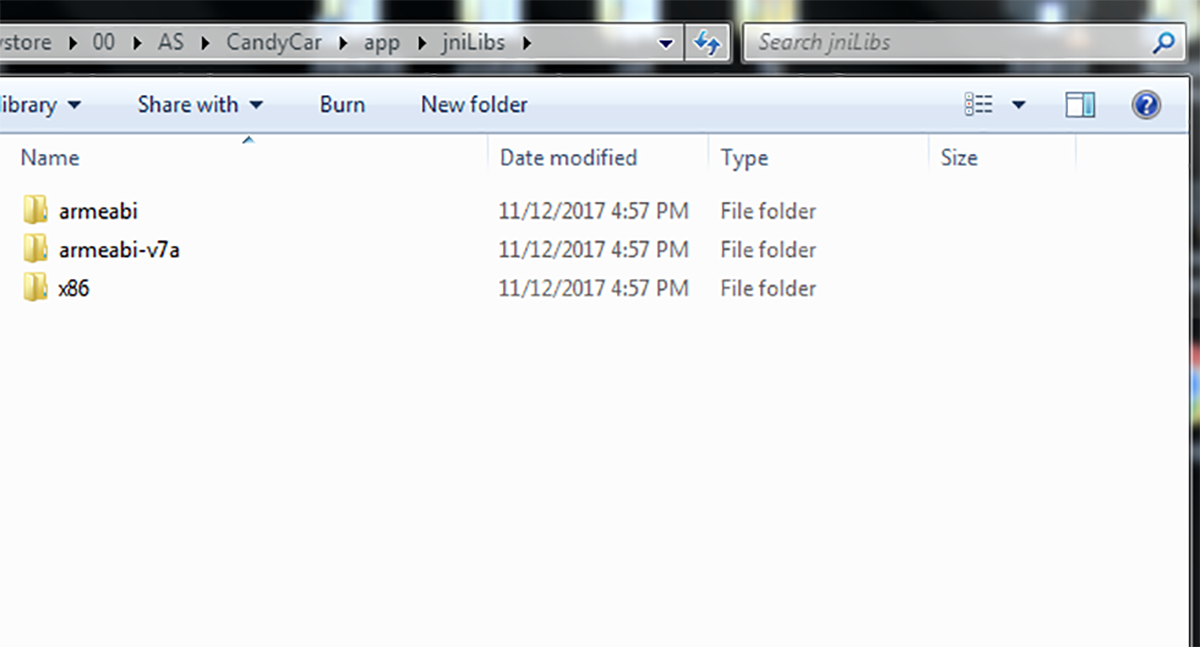
STEP 2: Put all your .so libraries inside 'app/src/main/jniLibs' folder
Copy all the build variants folders containing the .so files, and paste them into the newly created ‘jniLibs’ folder.
STEP 3: Now the Folder structure looks like,
|–app:
|–|–src:
|–|–|–main
|–|–|–|–jniLibs
|–|–|–|–|–armeabi
|–|–|–|–|–|–.so Files

STEP 4: Add the following line to your app's build.gradle
In order to properly integrate the multiple build variants inside your Apk, you have to put all the .so files inside the jniLibs directory, and you need to set the srcDir to jniLibs directory to tell the compiler to utilise the jniLibs folder instead of Libs.
To do that, simply add the following line to your app build.gradle
jniLibs.srcDir 'jniLibs'
within the
|
1 2 3 4 5 6 |
android { sourceSets { main { } } } |
This deactivates the built-in ndk integration from the gradle plugin and make gradle use jniLibs resources instead of from libs.
In my case, app Gradle looks like,
|
1 2 3 4 5 6 7 8 9 10 11 12 13 14 15 16 17 18 19 20 21 22 23 24 25 26 27 28 29 30 31 32 33 34 35 |
apply plugin: 'com.android.application' dependencies { compile fileTree(dir: 'libs', include: '*.jar') compile project(':google-play-services_lib') } android { compileSdkVersion 26 buildToolsVersion "26.0.2" defaultConfig { applicationId "com.hell.escaping" minSdkVersion 14 targetSdkVersion 26 versionCode 1 versionName "1.0" multiDexEnabled true } sourceSets { main { manifest.srcFile 'AndroidManifest.xml' java.srcDirs = ['src'] jniLibs.srcDir 'jniLibs' resources.srcDirs = ['src'] aidl.srcDirs = ['src'] renderscript.srcDirs = ['src'] res.srcDirs = ['res'] assets.srcDirs = ['assets'] } debug.setRoot('build-types/debug') release.setRoot('build-types/release') } } |
STEP 5: All done!
just sync your project and export Apk. Now the native code is compiled into your Apk.
Troubleshooting latest device support issues
Some of the latest Android devices like Samsung S6 are running on 64-bit processors. These devices always check for arm64 folder to load the native .so files. If your project does not have a arm64 folder, you can force the devices to load native files from other folders by setting up abiFilters in the Gradle defaultConfig block.
|
1 2 3 4 5 6 7 8 |
defaultConfig { ... ndk { abiFilters "x86", "armeabi-v7a", "armeabi", "mips" } } |
What this does is that when your device tries to start the app, it will inform the device that it should not generate any folders for arm64 support, but use the existing native libraries.
Not over yet! If the compiler complaints of deprecated Ndk, add the following line to your gradle.properties file so that it will use the deprecated Ndk without any issues.
android.useDeprecatedNdk=true


This Post Has 0 Comments