How to Increase Max File Size Upload Limit – WordPress
Wordpress has become too wide since one with less or no knowledge in design and development could make their own website so facilely. But what! Everyone gets into trouble at some point! One of them is Struggling up with Maximum upload limit while you try to upload a media file or a theme zip file which has a size of more than 25 mb or simply 2 mb.
In this post, we will see exactly how to increase max file size upload limit – wordpress, so that beginners won’t feel it a trouble anymore. Most of the time large files fail to upload because of the upload limitations set by the hosting providers in their respective ranges of 2 mb to 150 mb. Still there are few good hosting providers like Arvixe which allows an upload of 1GB though! So clearly the issue is with the Hosting Provider! Let’s discern at two methods by which you can go about overcoming it.
The php.ini method is the first among to be tried
You need to find the php.ini file. Here we use a method call phpinfo() to find where the file is exactly located in the server. Let’s see it in brief.
- Create new text file in our wp-admin directory root and name it info.php.
- Open info.php and add these lines:
12345<?phpphpinfo();?> - Save it and Navigate to yourwebsite/wp-admin/info.php (for example, localhost/wp-admin/info.php) in a browser.
- In the 8th ot 9th line you will see: Loaded Configuration File, and you will see something like /xxx/xxx/public_html/xxx/php.ini.
So there’s the file! You’ve found the php.ini file that is associated with your wordpress web-site.
Go to that path, and spot the php.ini file.Open it, and do the following.
- Search for post_max_size=8M, and change it to post_max_size=1024M
- Search for upload_max_filesize=2M, and change it to upload_max_filesize=1024M
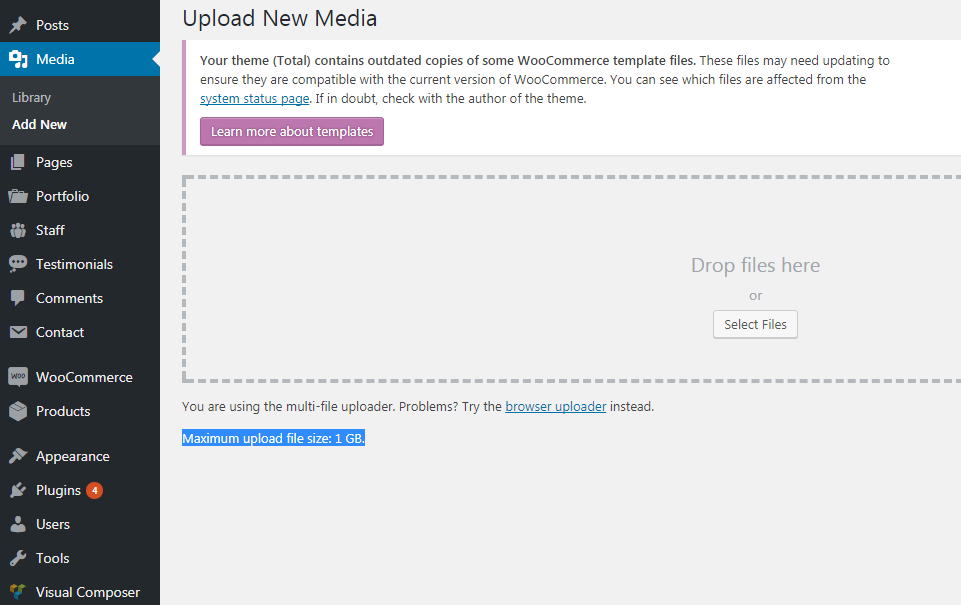
Save the file and now go back to your admin page > Media > Add New to check if the limit has changed to 1 GB.
Few of the shared hosting providers might require you to integrate the suPHP directive in your .htaccess file for the above php.ini file settings to work. In such cases, you might need to edit the .htaccess file that is located at the root folder of your website, and enter the following snippet at the beginning of that file.
|
1 2 3 |
<IfModule mod_suphp.c> suPHP_ConfigPath /home/yourusername/public_html </IfModule> |
By default, the php.ini file determines the configuration of your hosting server. If you have problems with editing the php.ini file, or if it was telling you something like access is denied, it simply mean that you should need more privileges to access the file. When the privileges are set up by the hosting provider, you may not be able to find out and manipulate these files easily, and it’s when the .htaccess method works more consistently.
Let’s look at the second method, the .htaccess file method
Access the .htaccess file via FTP and add these lines of code to the bottom of the file, save and upload back in place.
|
1 2 3 4 |
php_value upload_max_filesize 1024M php_value post_max_size 1024M php_value max_execution_time 300 php_value max_input_time 300 |
This is all about how to increase max file size upload limit in wordpress. There are more ways to do it or simply using related plugins could also do the job perfect. If you don’t want to use any third party plugin, it’s better to open a ticket in your hosting support center, since they can help you with related configurations.